How to add inspection photos
Who this is for
You attach photos of what you found so the customer and, later, an adjuster can see them.
Before you start
- The inspection is open and not shared yet.
- On a phone, Camera and Gallery are two different buttons.
Steps
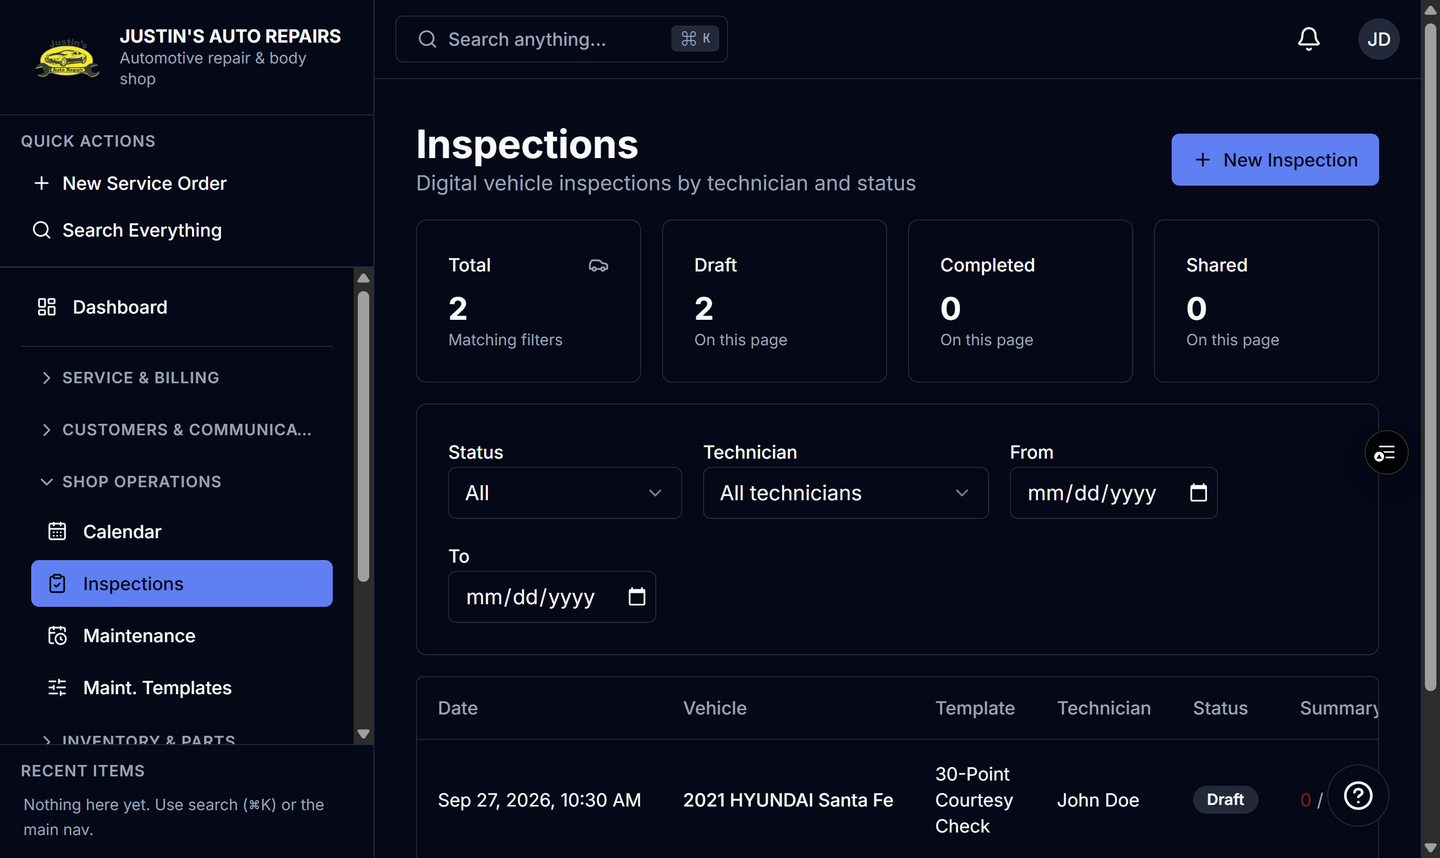
- Open Inspections and open the inspection.
- On the point, choose Camera to take one photo with the rear camera.
- Or choose Gallery and pick one or more photos already on the device.
- Wait until the photo finishes uploading.
- Repeat for the other points that need a picture.
How you know it worked
The photo appears on that point. After you mark the inspection complete or share it, those photos can show on the customer approval page for a line that came from that point.
Common snags
- Gallery used to open the camera. Use Gallery when you want the photo library.
- A photo on a draft inspection stays off the customer and adjuster approval pages until the inspection is completed or shared.
- Very large photos are reduced before upload. A file the browser cannot read, such as some HEIC files on a desktop, is uploaded as-is and may not preview.