How to add a customer
Who this is for
Front counter staff creating the person or company you bill. Technicians and accountants do not add customers. Deleting a customer is limited to a manager.
Before you start
- You need the billing name, plus a phone number or an email. The form says to enter one of those.
- Insurance claim, carrier, and policy details are set on the service order, not on this form.
Steps
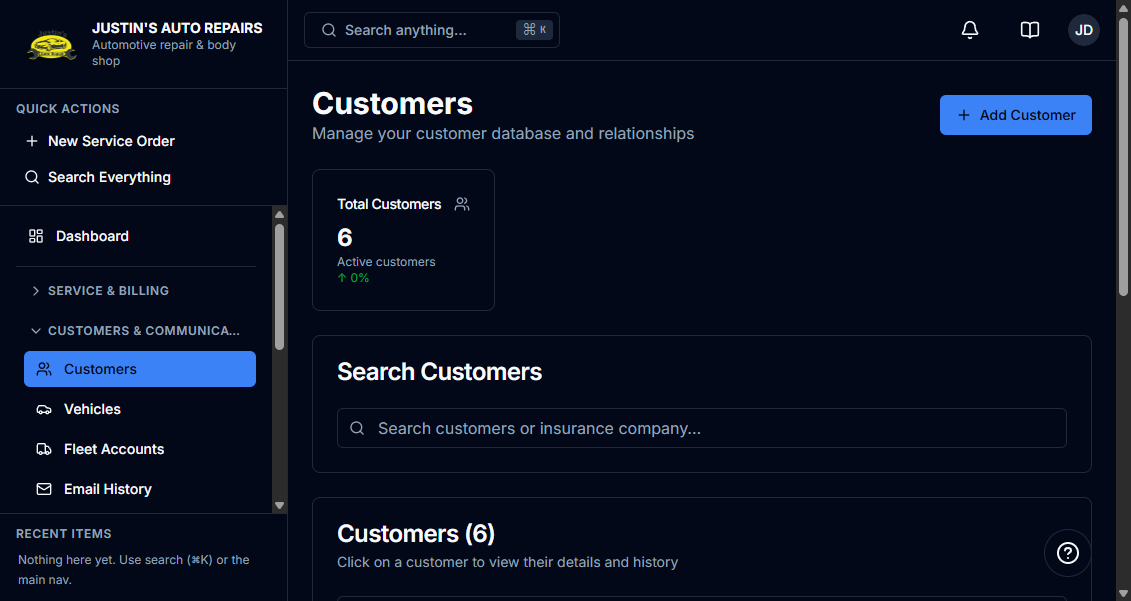
- Open Customers & Communications and choose Customers.
- Choose Add Customer.
- Enter Customer Name.
- When Customer type is shown, choose Walk-in, Insurance, or Warranty.
- Enter Phone Number or Email.
- Turn on SMS notifications consent if the customer agrees to transactional texts.
- Choose Create Customer.
How you know it worked
The dialog closes and the customer appears in the list. Click the row to open them. After you add a customer, the page can prompt you to add a vehicle.
Common snags
- Customer type, including Warranty, is shown when Insurance & warranty is on. A Warranty customer pre-selects the Warranty template on the next service order.
- Address can stay empty. When you fill it, use the street, unit, city, province, and postal fields. The page shows them as one line.
- Send review requests appears only when review campaigns are on. Leave it on unless you mean to stop those messages. See How to turn off review requests for a customer.